


RunCode Cloud Environment setup
If you already worked through the installation steps, you do not need to also complete the RunCode Cloud Environment setup. Please skip straight to Introduction to Python.
If you are using RunCode Cloud development environment, your installation experience will be a little different. You can ignore the rest of the installation instructions as you do not need to install anything locally, you just need to create three online accounts.
Create a GitHub account
Go to GitHub.com and sign up for a new, free user account.Skip this step if you already did this in the previous step so you could sign up for RunCode.
Create a RunCode account
Go to RunCode.io and sign up for a new, free user account. You need to have a Google.com account or GitHub.com which you can sign up with.
Create a PythonAnywhere account
PythonAnywhere is a service for running Python code on servers "in the cloud". We'll use it for hosting our site, live and on the Internet.
We will be hosting the blog we're building on PythonAnywhere. Sign up for a "Beginner" account on PythonAnywhere (the free tier is fine, you don't need a credit card).
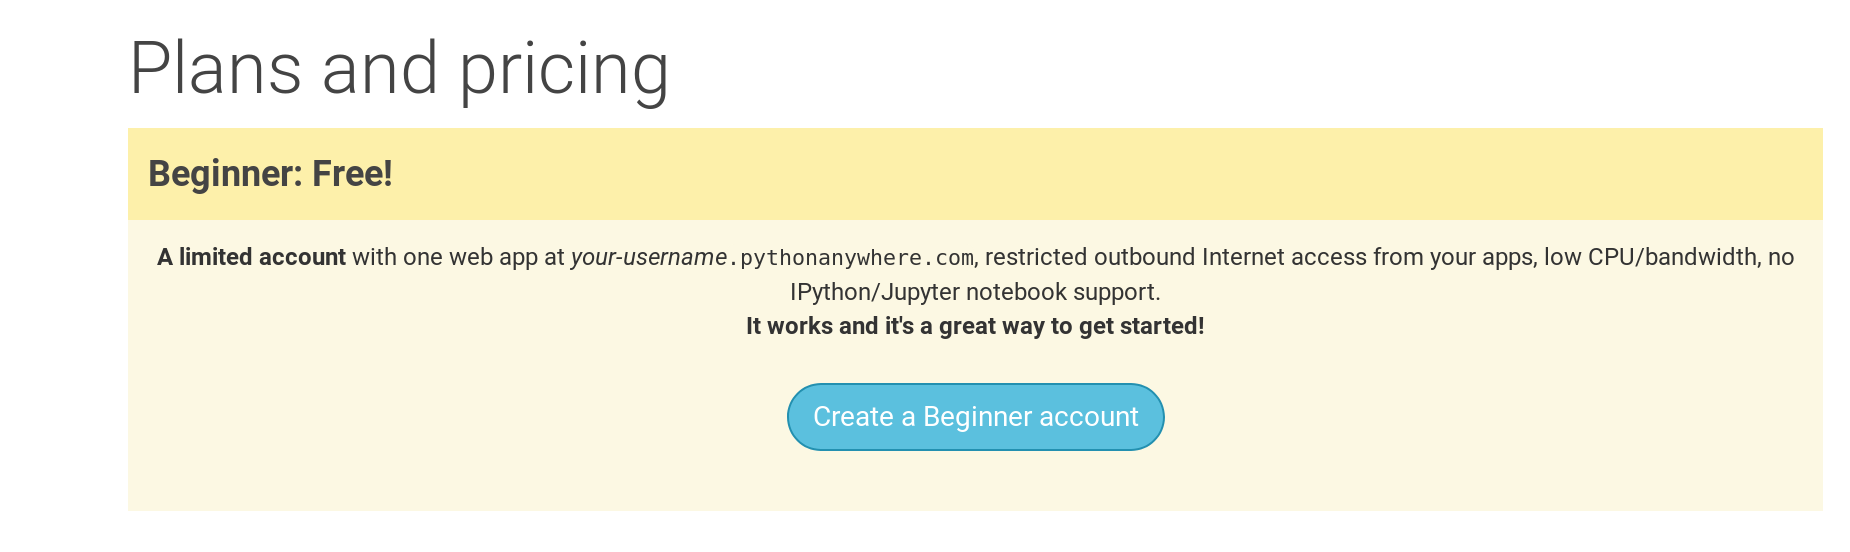
When choosing your username here, bear in mind that your blog's URL will take the form
yourusername.pythonanywhere.com, so choose either your own nickname or a name for what your blog is all about. Also, be sure to remember your password (add it to your password manager, if you use one).
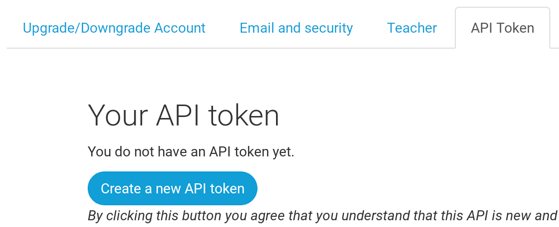
Creating a PythonAnywhere API token
This is something you only need to do once. When you've signed up for PythonAnywhere, you'll be taken to your dashboard. Find the link near the top right to your "Account" page:
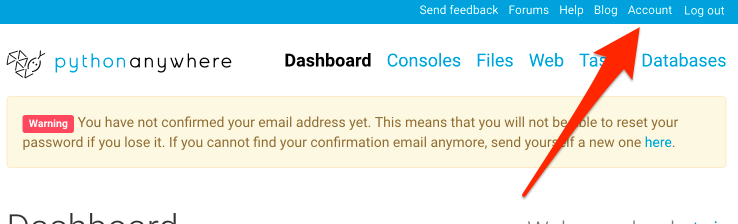
then select the tab named "API token", and hit the button that says "Create new API token".
Command Line
To open the Ubuntu terminal on RunCode, go to Workspaces → New Workspace → Blank, and select the “Tiny” Workspace Type. After waiting for it to start, this will open a new Visual Studio Code workspace which has an Ubuntu terminal in the bottom pane.
Ubuntu is a version of Linux so for all command line instructions later in the tutorial you can follow Linux instructions.
Virtual Environment
Before we install Django we will get you to install an extremely useful tool to help keep your coding environment tidy on your computer. It's possible to skip this step, but it's highly recommended. Starting with the best possible setup will save you a lot of trouble in the future!
So, let's create a virtual environment (also called a virtualenv). Virtualenv will isolate your Python/Django setup on a per-project basis. This means that any changes you make to one website won't affect any others you're also developing. Neat, right?
All you need to do is find a directory in which you want to create the virtualenv; your home directory, for example. On Windows, it might look like C:\Users\Name\ (where Name is the name of your login).
For this tutorial we will be using a new directory djangogirls from your home directory:
command-line
$ mkdir djangogirls
$ cd djangogirls
We will make a virtualenv called myvenv by running python3 -m venv myvenv.
It will look like this:
command-line
$ python3 -m venv myvenv
myvenv is the name of your virtualenv. You can use any other name, but stick to lowercase and use no spaces. It is also a good idea to keep the name short as you'll be referencing it a lot!
Working with a Virtual Environment
Start your virtual environment by running:
$ source myvenv/bin/activate
Remember to replace myvenv with your chosen virtualenv name!
Installing packages with requirements
A requirements file keeps a list of dependencies to be installed using
pip install:
First create a requirements.txt file inside of the djangogirls/ folder, using the code editor that you installed earlier. You do this by opening a new file in the code editor and then saving it as requirements.txt in the djangogirls/ folder. Your directory will look like this:
djangogirls
├── myvenv
│   └── ...
└───requirements.txt
In your djangogirls/requirements.txt file you should add the following text:
djangogirls/requirements.txt
Django~=3.2.10
Now, run pip install -r requirements.txt to install Django.
command-line
(myvenv) ~$ pip install -r requirements.txt
Collecting Django~=3.2.10 (from -r requirements.txt (line 1))
  Downloading Django-3.2.10-py3-none-any.whl (7.9MB)
Installing collected packages: Django
Successfully installed Django-3.2.10
That's it! You're now (finally) ready to create a Django application!